
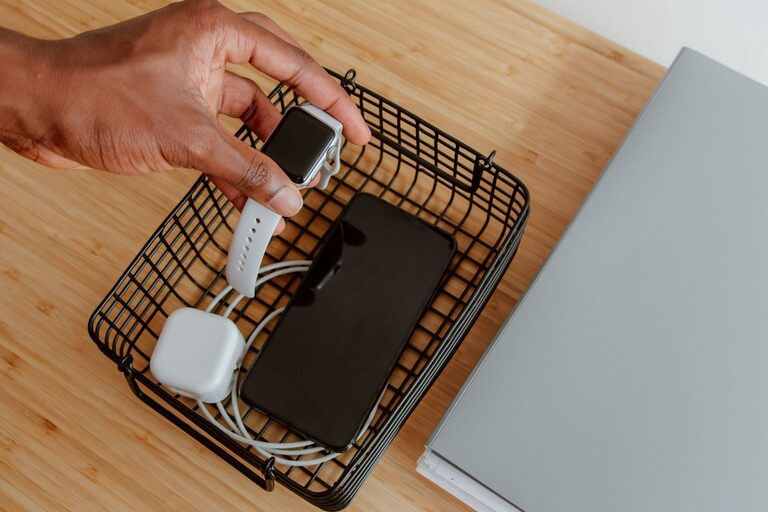
Setting up a dedicated charging station for your devices is a smart way to keep your gadgets powered and your space organized. Whether you have smartphones, tablets, smartwatches, or other rechargeable electronics, a well-planned charging station can simplify your daily routine and reduce clutter caused by tangled cables and misplaced chargers.
In this guide, you’ll learn how to design and set up a practical charging station that fits your needs and space.
Why Create a Charging Station?
Before diving into the setup process, it’s helpful to understand the benefits of having a dedicated charging area:
– Organization: Keeps all your devices and chargers in one place.
– Convenience: Makes charging quick and easy without searching for cords.
– Safety: Reduces the risk of cords becoming tripping hazards or damaged.
– Space-saving: Eliminates clutter from multiple charging spots around your home or office.
With these advantages in mind, let’s explore how to build your own charging station.
Planning Your Charging Station
Assess Your Needs
Start by listing all the devices you frequently charge. Consider the following:
– How many devices need charging simultaneously?
– What types of devices are they (smartphones, tablets, earbuds, etc.)?
– What kinds of chargers or cables do they require (USB-A, USB-C, wireless)?
– Where will the charging station be located (desk, kitchen counter, living room)?
Answering these questions helps you choose the right components and layout.
Choose a Location
Pick a spot that’s easily accessible and near a power outlet. Common locations include:
– Home office desk
– Nightstand
– Kitchen counter or dining table
– Entryway console table
Make sure the area can accommodate your charging station without causing clutter or obstructing movement.
Gathering Materials and Equipment
Depending on your needs, here are some items to consider:
– Multi-port USB charger: A charger with several USB ports lets you power multiple devices from one outlet.
– Charging cables: Have the right cables for each device handy. Consider investing in durable, tangle-free cables.
– Wireless charging pads: If your devices support wireless charging, these can reduce cable clutter.
– Charging station organizer: This can be a commercial stand, a box with compartments, or a DIY solution to hold devices and cables.
– Cable management tools: Clips, ties, or sleeves help keep cables neat.
– Power strip: If you have many devices, a power strip with surge protection is a good choice.
– Labeling materials: Small tags or labels can help identify cables and ports.
Step-by-Step Setup Guide
Step 1: Prepare the Surface
Clear the area where you plan to place your charging station. Clean it to ensure a tidy workspace.
Step 2: Arrange Power Sources
Plug your multi-port charger or power strip into the wall outlet. Place it so cables can reach all devices comfortably without stretching.
Step 3: Organize Cables
Use cable management tools to bundle and route cables neatly. Avoid letting cords dangle or get tangled. Labeling cables near the charging port or device can help identify them quickly.
Step 4: Set Up the Charging Stand or Organizer
Place your charging station organizer on the surface. Arrange devices in their designated slots or spaces, ensuring each has access to a charging cable or wireless pad.
Step 5: Test the Setup
Connect all devices and verify they start charging correctly. Adjust cable lengths or positions as needed for convenience and aesthetics.
Tips for an Effective Charging Station
– Use fast chargers: Chargers that support quick charging can power devices faster.
– Prioritize safety: Avoid overloading electrical outlets and use surge protectors to protect your electronics.
– Keep it clean: Wipe down your charging station regularly to prevent dust buildup.
– Update cables: Replace worn or damaged cables promptly to ensure safe charging.
– Personalize your station: Add small decorative elements or color-coded cables to match your style.
DIY Charging Station Ideas
If you enjoy DIY projects, here are some creative ideas:
– Wooden box organizer: Drill holes in the back or sides for cables, and create compartments for devices.
– Repurpose a tray: Use a decorative tray with cable ties and clips to corral chargers and cords.
– Wall-mounted station: Use wall hooks or a mounted organizer near your desk or entryway to save surface space.
– Charging drawer: Dedicate a drawer with built-in power strips and cable management for a hidden solution.
Conclusion
Setting up a charging station is a simple way to keep your devices powered and your space neat. By planning carefully, gathering the right materials, and organizing cables efficiently, you can create a charging hub that suits your lifestyle and workspace. Whether you prefer store-bought organizers or DIY creativity, a charging station will make your daily tech routine smoother and more enjoyable.